Showing posts with label Crafts. Show all posts

Tuesday, August 21, 2012

Tutorial Tuesday - DIY Makeup Palette

For this week's Tutorial Tuesday I am going to show you how to make your own makeup palette!  Never again will you ever have to purchase one from Z-Palette (although I love them!) or any other palettes (ahem MAC's) again!

What you'll need:


  • Glue Gun w/sticks
  • A book (I found this at the dollar store!)
  • Foam board (also at the dollar store.  P.S. much easier to work with than the Elmer's boards)
  • Duct Tape or Paper & Mod Podge (I used duct tape) - I found sheets at Michael's but, I found the roll to be less expensive and easier to use!
  • Magnetic Sheets
  • Ruler
  • Pen, Pencil, or Marker (whichever you prefer to use)
  • Clear scrapbook sheet
  • X-Acto Knife
  • Utility Knife
  • Scissors (if you want to work w/them)

Using your X-Acto knife you are going to cut the pages out of the book.  I cut the binding and pulled out the majority of the pages and then I cut the "glued" pages out afterwards.  This is what it looks like when it's done:


I then measured the size of the book to determine how big to cut the foam board. I took off one centimeter for each edge for it to open and close nicely. 

Using my X-Acto knife I cut the foam board out and then measured one inch around the edges (this is going to make my window).  The awesome thing about the Dollar Store foam board it cuts much nicer than the Elmer's one; not sure of why that is but, from now on I am getting all crafting foam board from them!


Again, I am using my X-Acto knife to cut out the box in the middle to make the window section of my palette.


I put that aside and begin the "cutting out" section of the book.  I measure the book with one inch one centimeter and mark the lines.

Using my utility knife (the book is a lot harder to cut through) I cut out the window of the book.


The last thing to "cut" is the magnetic sheet.  I measure the back page of the book to determine how big to cut the sheet.  Depending on the size of your book will determine the size of your sheet.


Using my glue gun I glue the magnetic paper to the back of the book.


Now it is time to start Duct Tapin'!  I used two Zebra print Duct Tape sheets that I got from Michael's to tape on the back. Like I said earlier....the rolls are much easier to use...For some reason I thought this would be easier...WRONG. Don't deviate from what you know works!


I cut the Duct tape paper so that it hung over the edge of the book (that way I can fold them over) and cut a smaller hold in the middle window so I could also have that edge fold over as well. Of course I used the X-Acto knife to make the little awkward slits at the corners for a nice clean and flush fold. 


I didn't worry about complete covering the inside because I still had the clear scrapbook sheet to cut and place there. **I did it kind of backwards, and should have taped from the inside of the book to the outside and put the sheet on top, but I didn't...oh well, it still looks fine.  It just would have given me about two centimeters of height for the make up.  It still fits so I didn't worry too much about it.

I cut the sheet to be slightly smaller than the book and hot glue the edges.


While that is drying I duct tape the foam board. I choose to do contrasting colors to make it more "fun" and simply because I don't like boring...


By then the glue should be dry from the clear plastic so it is time to glue the foam board to the book.


And there you have it, you are done.  I think I might add a button to the top and use a hair band as a clasp to help keep it closed a little better.  

All in all I think it turned out rather wonderful!  

Do you have a DIY request? or have you made your own palette before? I want to see!  Leave me some L.O.V.E.!

Thanks to Shabby Kitteh for this D.I.Y. inspiration!

Tuesday, June 26, 2012

Tutorial Tuesday - KICKOFF!

Last week I gave you a little sneak peek in to what the first [of many] Tutorial Tuesday's was going to be and now here it is the finished product!

Yes, I totally turned this Stanley Mobile Work Center that I bought from Home Depot for $30 bucks in to a rolling train (make-up) case.  Here's the quick back story: my daughter is a competitive dancer (sort of like the t.v. series Dance Moms but without the horrid drama...yeah we're cool like that) I became sick of carrying all my daughter's and my make-up and hair items with me every where.  I have wanted a rolling train case for myself for a while but I just can't see spending on the upwards of $150 for it.....so ridic!  Anyway, this thing has made my life so much easier, but it was totally ugly to bring with me everywhere.  So, the stickers came off and new ones went on.  It was super* easy and here is how I did it:

*Disclaimer: the one sticker [see the picture of before I primed it] was a pain in the ass....next one I do, I am going to find an easier way to take this stupid thing off.  Thank you Stanley for making it almost impossible to take your trademark off.  

The top and bottom are connected by latches and if you remember there was a decal on the bottom half of the product that needed to be removed.  If you forgot what it looked like see my post about it here.  Using a blow dryer, tweezers, and a scraper, I removed the decal.  WARNING: this takes a long time FOREVER!!!!!  Once I removed the entire sticker this is what I was left with.

Before Priming
Yuck!  So I then got an abrasive sponge and Goo Gone and started scrubbing away until I got it to look like this.

Much, much better!  I also needed to try to figure out how I was going to paint on plastic and then it occurred to me...they make plastic primer paint!  So I armed myself with painters tape, newspaper, and some plastic primer (I used Rust-Oleum).  Since the primer came in a spray can I felt the need to really cover the whole thing.

Not sure why I am missing paper on the left side but I assure you I added some!
I then sprayed the whole section with a light coat of primer.  Just enough to cover it....you do not want to over do it!

While that dried (it took about 30 minutes), I worked on the decorations to the upper half.  Now please keep in mind that this is for my daughter and although I was the handywoman she ultimately got to have the final say on what goes (I helped steer her in to a better direction).


I found a lot of "bling" like stickers that she loved from the craft store and Wal-Mart and placed them on different areas.  I also found these awesome mirror letters!  They were $.99 at Michaels

But the faded in with the black coloring of the case. So I used good ol' puffy paint in hot pink & neon green and outlined them.
You can really see your reflection in them! Isn't it COOL!
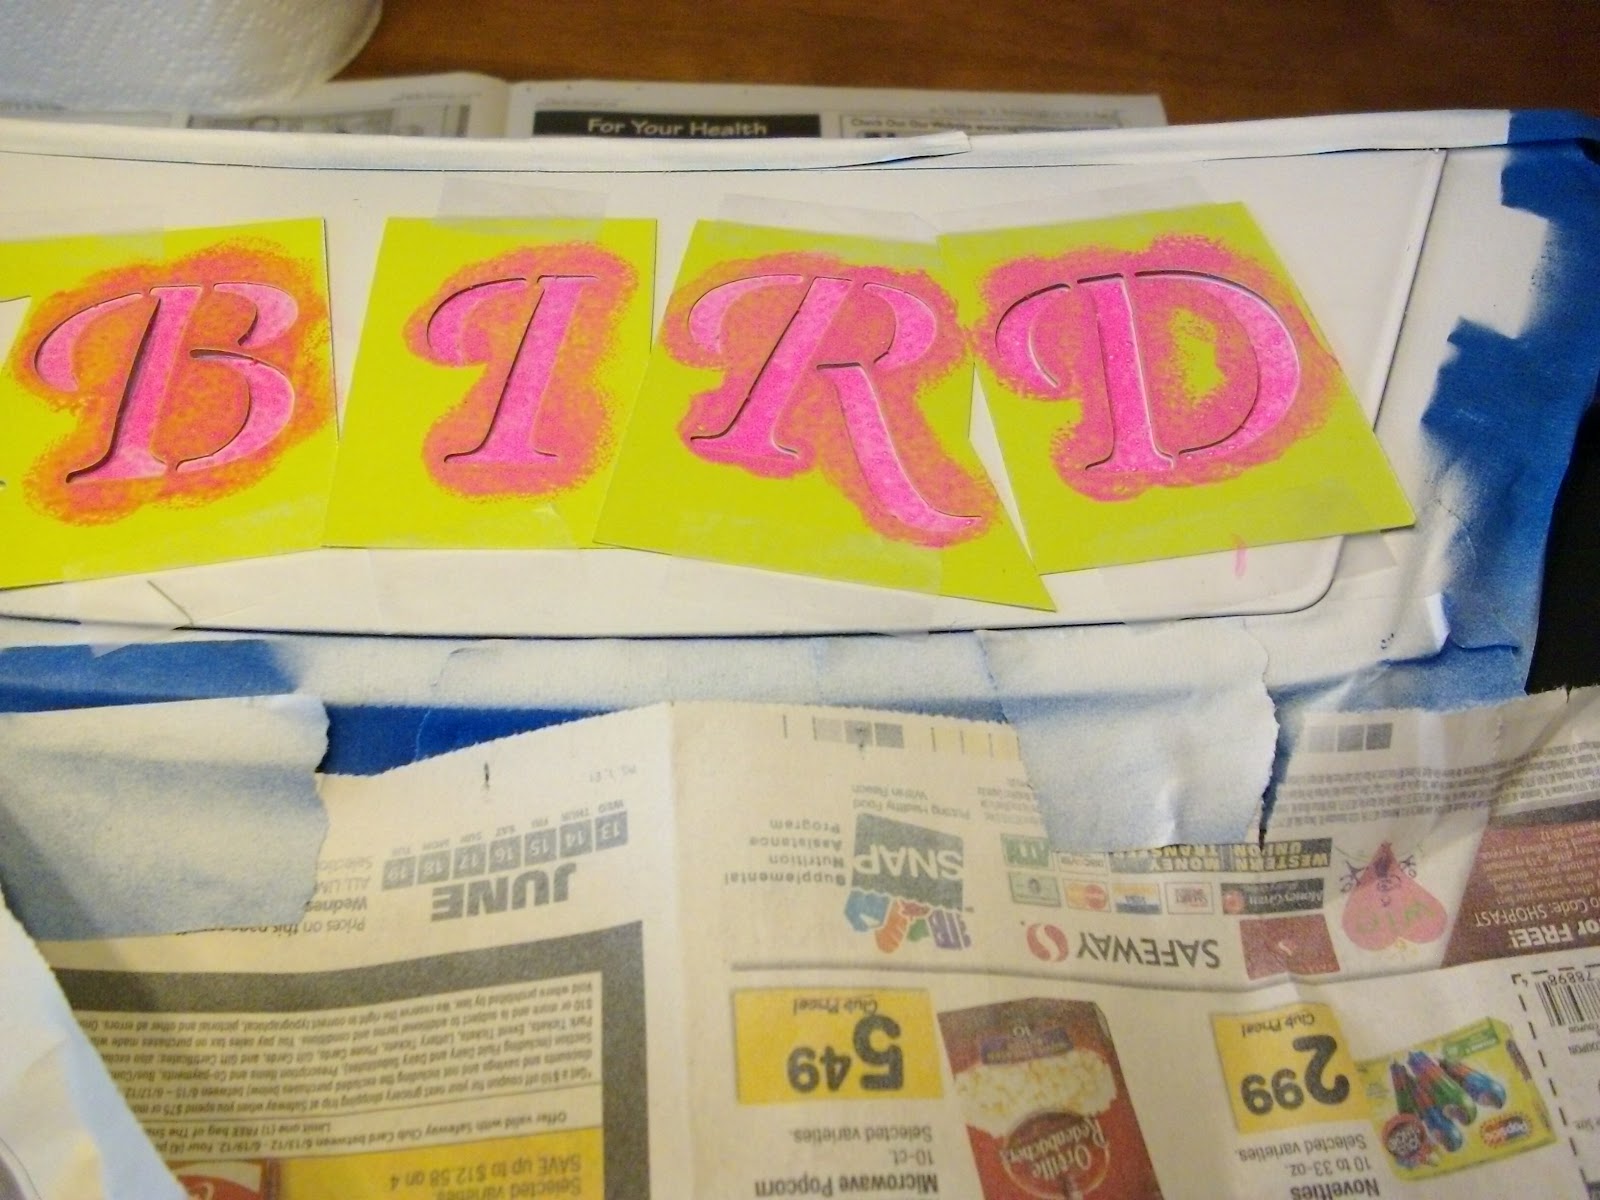
By the time I finished all the decorating of the upper half of the work center, the lower half was done.  I used stencils and a hot pink acrylic paint to write out my daughters nickname "Bird."  It took about four coats, but I think that is b/c it was a glow in the dark paint.

I let that dry and then outlined it again with the neon green puffy paint and I was pretty much done. Birdy made some final touches with sparkling stars.  

Here's what it looks like on the inside:


1. Turn-out tray for all hair accessories
2. Mini compartment to hold things like primer and face stuff
3. Pull out tray to hold eye shadows, liners, mascaras, and other face make-up
4. This is what it looks like when it's closed
5. Underneath houses palettes and other items

I'm an idiot and forgot to take a pic of the lower half but that houses all her sponge rollers, blow dryer, and other hair tools.  BTW, not all of the items are my daughters, I have kind of taken it over b/c it is SO COOL! I believe I will be buying the bigger version of this and doing one just for me.  Had I really put some more thought in it, I would have also attached the mirrored letters to the inside!


What do you guys think of the first Tutorial Tuesday?  How about a $30 rolling train case? AWESOME right!?  What else would you like to see?  Leave me comments or send me an email!

Wednesday, June 20, 2012

Tutorial Tuesday's

Next week begins a new theme for Tuesday's....Commencing TUTORIAL TUESDAY'S!  Every Tuesday I will have one brand new tutorial for my followers!  The tutorial's will range from crafts to makeup to hair.  All types!  The tutorials will most likely be photo tutorials, but on occasion I may slip a video in there.  Currently, I am working on a few for you but I have a BIG one to kick off the new theme next week!

Here's a sneak peak:

Don't let it fool you....it is going to be SUPER cool!  Leave comments for tutorial idea's you would like to see!